
We’ve been hearing a lot about HBM (High Bandwidth Memory) lately—but why has it suddenly exploded in popularity?
The main reason is the lightning-fast development of fields like AI training and data centers. These industries have an insatiable hunger for data processing and transmission. Traditional memory, like standard DRAM, simply can’t keep up; its bandwidth is limited, acting like a narrow road that gets gridlocked as soon as traffic increases. It just can’t satisfy today’s “data-hungry” applications.
Compared to other types of memory, HBM’s advantages are undeniable. Take GDDR, for example: while it performs well in graphics cards, HBM uses 3D stacking technology to vertically layer multiple DRAM chips. These layers are tightly interconnected using Through-Silicon Vias (TSV). This turns the data path from a single lane into a multi-lane superhighway, massively increasing bandwidth and allowing for the transfer of massive amounts of data in a fraction of the time.
Furthermore, HBM is more power-efficient. Because the chips are stacked, the distance data needs to travel is significantly shorter than in other memory types, naturally saving electricity. It also takes up much less physical space. For high-performance, compact devices like high-end GPUs and servers, HBM is the perfect fit—delivering extreme performance within a limited footprint.
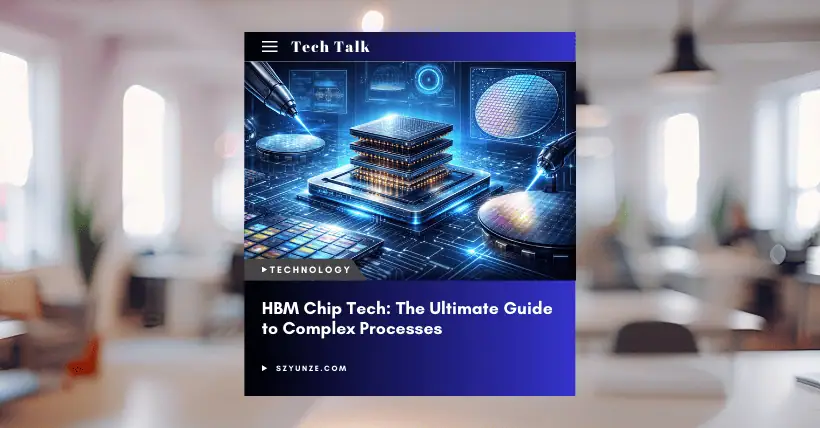
To demystify this technology, Core Tech Circle has provided an in-depth analysis of the complex HBM manufacturing process. Here is a breakdown of the key stages and their core parameters:
I. FAB Stage of HBM Chip
This stage focuses on preparing the silicon wafer for vertical connectivity.
- 1. Silicon Etching
- Purpose: To etch holes into the silicon for TSVs, creating the foundation for vertical electrical connections.
- Core Parameters: Etch depth, etch rate, uniformity, and Aspect Ratio (typically required to reach 10:1 to 20:1).
- 2. TSV Copper Filling
- Purpose: To fill the etched holes with copper, forming vertical conductive pathways between chip layers.
- Core Parameters: Fill integrity (void-free), fill rate (≥99.9%), and copper resistivity.
- 3. TSV Copper CMP (Chemical Mechanical Polishing)
- Purpose: To polish the copper surface until it is perfectly flat, providing a base for subsequent layers and controlling copper thickness.
- Core Parameters: Polishing rate, surface roughness (Ra ≤ 0.5nm), and global flatness.
- 4. BEOL (Back-End-of-Line) Metallization
- Purpose: To form metal interconnects on the chip surface for internal circuit functionality.
- Core Parameters: Metal layer thickness, line width/spacing, and contact resistance.
II. Wafer Test Stage
This stage involves testing the wafers to screen for high-performing chips (“Known Good Die”) to prevent waste in later stages.
- Tests include: Read/write speed, voltage stability, and identifying bad blocks.
III. Bumping & Stacking Stage
The most critical phase for vertical integration.
- 5. Front-side Bump Formation
- Purpose: To create “bumps” on the front of the chip for electrical and mechanical bonding during stacking.
- Core Parameters: Material (e.g., SnAgCu), bump diameter (10–20μm), and pitch (20–40μm).
- 6. Wafer Reflow Soldering
- Purpose: Heating the bumps to melt the solder, securing the connection between chips or carriers.
- Core Parameters: Temperature profile (preheat, soak, reflow, cooling) and soldering pressure.
- 7. Temporary Carrier Bonding
- Purpose: Temporarily bonding the wafer to a carrier for support during back-side processing to prevent deformation.
- 8. TSV Exposure & Back-side Passivation
- Purpose: To expose the TSVs on the back and apply a protective passivation layer against the environment.
- 9. Passivation CMP & TSV Copper Exposure
- Purpose: Polishing the passivation layer and exposing the copper TSVs for back-side bumping.
- 10. Back-side Bump Formation
- Purpose: Forming bumps on the rear of the chip to allow for multi-directional, multi-layer stacking.
- 11. Debonding & Carrier Film Attachment
- Purpose: Removing the temporary carrier and attaching a support film for the final stacking and packaging.
- 12. Chip Stacking & Overmolding (Encapsulation)
- Purpose: Stacking multiple chips and sealing them to enhance mechanical strength, thermal conductivity, and electrical protection.
- Core Parameters: Number of layers, alignment accuracy (≤0.5μm), and warpage control.
IV. KGSD Test Stage
Testing the Known Good Stacked Die (KGSD) to ensure the final HBM unit’s reliability.
- Key Parameters: Maximum bandwidth, timing latency, and reliability under environmental stress (high temp, humidity, and physical shock).

Disclaimer:
- This channel does not make any representations or warranties regarding the availability, accuracy, timeliness, effectiveness, or completeness of any information posted. It hereby disclaims any liability or consequences arising from the use of the information.
- This channel is non-commercial and non-profit. The re-posted content does not signify endorsement of its views or responsibility for its authenticity. It does not intend to constitute any other guidance. This channel is not liable for any inaccuracies or errors in the re-posted or published information, directly or indirectly.
- Some data, materials, text, images, etc., used in this channel are sourced from the internet, and all reposts are duly credited to their sources. If you discover any work that infringes on your intellectual property rights or personal legal interests, please contact us, and we will promptly modify or remove it.